How to Create and Use Custom Skins in Minecraft: A Simple Guide
Many Minecraft players want their character to stand out from the crowd. Custom skins let you give your avatar a personal look that reflects your style. This guide explains how to create a custom skin, apply it in the game, and get the best results.
Choosing a Skin Editor Tool
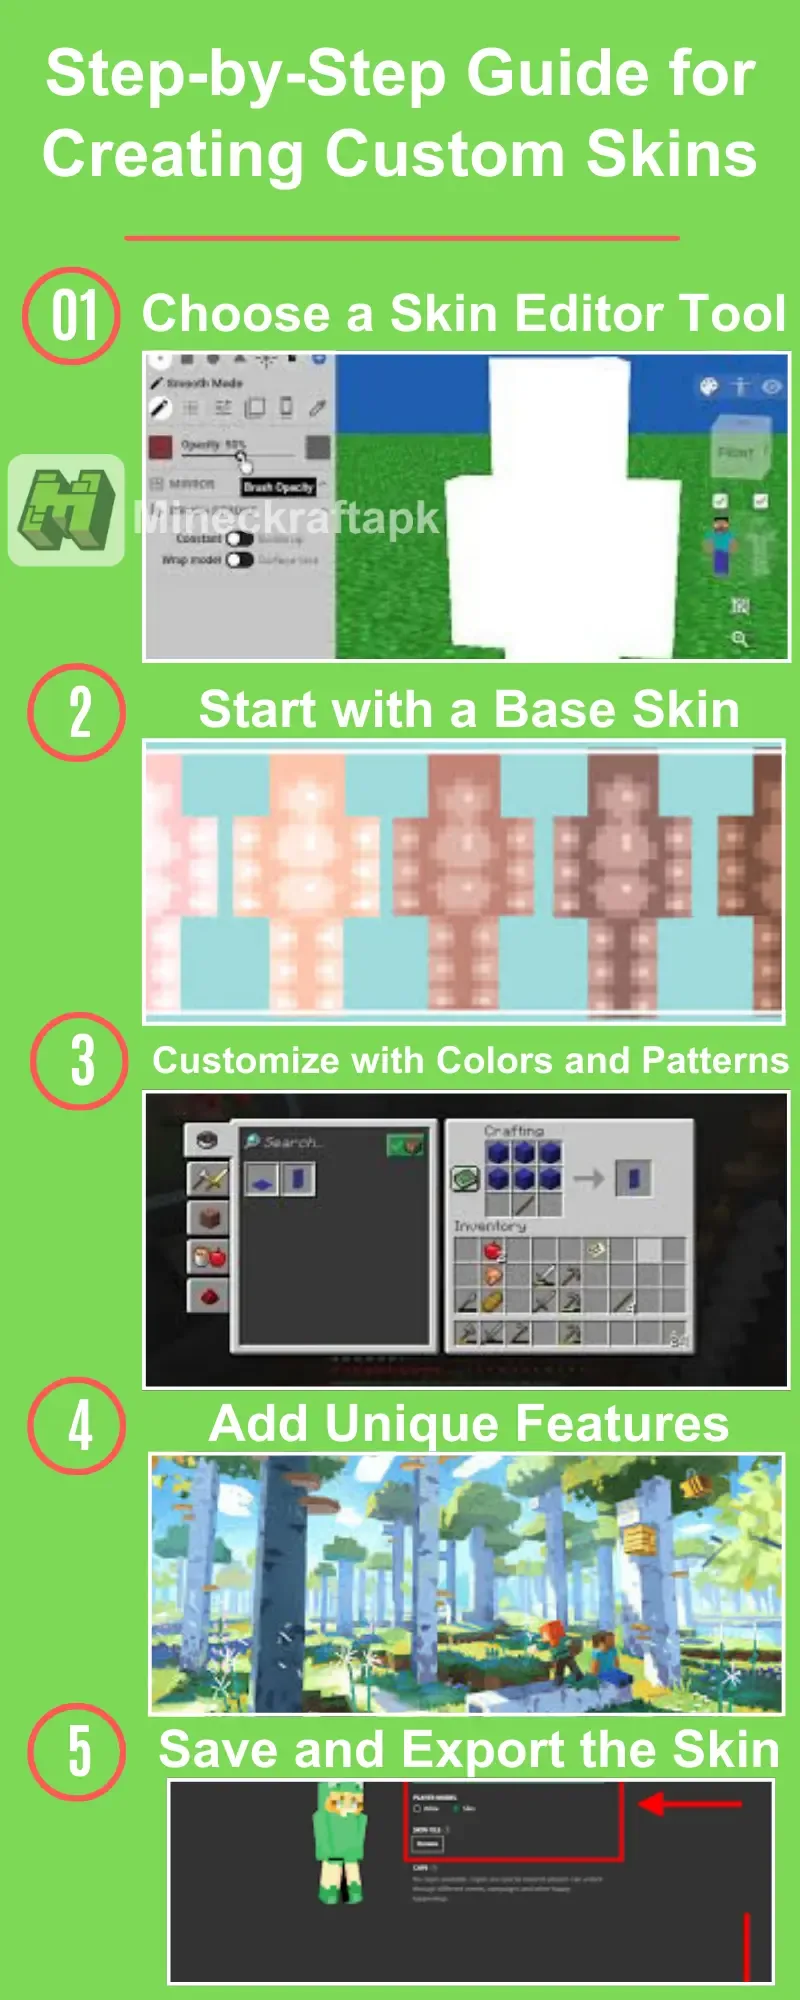
Start by selecting a skin editor. Popular options include Skinseed, Skindex, and NovaSkin. These tools have user-friendly interfaces and work on most Android devices. They also offer pre-designed templates to help you get started. Once you have created your skin, save it in the required format.
Starting with a Base Skin
Begin with a base skin such as Steve or Alex. Using these default characters gives you a solid framework and saves you from starting from scratch. You can then focus on adding your own colors, patterns, and accessories.
Customizing with Colors and Patterns
Experiment with different color combinations to make your skin unique. Mix bright and dull colors to create a pattern that stands out. Tools like fill, pencil, and gradient help you create intricate designs, from striped clothing to shaded armor. Keep your design balanced—creativity with simplicity often looks best in the game.
Adding Unique Features
Add features like hats, masks, or capes to give your character personality. Thematic costumes, such as superhero outfits, can make your skin more adventurous. Make sure the details are proportional so your character looks polished in Minecraft’s blocky world.
Saving and Exporting the Skin
When you are happy with your design, save it as a PNG file. Export it in good quality and in the correct format to avoid issues. Save the file to your device’s gallery, and it will be ready to import into the game.
How to Use Custom Skins in Minecraft
To apply your custom skin, follow these steps:
1. Launch Minecraft and go to the Profile area from the main menu.
2. Tap on Edit Character, then go to the Owned Skins tab.
3. Tap the import option and find your saved custom skin.
4. Upload the file.
5. Preview the skin to make sure it displays correctly.
6. Test it in different game environments to see how it looks in action.
Tips for Better Skin Customization
- Be creative: Draw inspiration from favorite characters, movies, or hobbies to make your design stand out.
- Stay simple: Simple designs look clear in Minecraft’s pixelated style. Focus on clean patterns and easy-to-recognize features.
- Use contrast wisely: Pair dark clothing with bright accents or vice versa for a visually appealing effect.
- Experiment with patterns: Try stripes, polka dots, gradients, and shading to add depth and texture.
- Update regularly: Switch your skins periodically with seasonal themes or festive outfits to keep your character fresh.
- Test in the game: Always test your skin in the game to ensure it looks as good as it does in the editor.
- Save backup files: Keep a copy of your custom skins so you can reuse or edit them later.
Frequently Asked Questions
What kind of file is required for Minecraft skins?
Skins must be saved in PNG format to work with the game. Make sure you export your design in this format before using it.
Are there limitations on the design of custom skins?
While you can be as creative as you like, complex designs may not be visible in the game due to Minecraft’s pixelation. Focus on bold and simple patterns for best results.
Can I use custom skins in multiplayer mode?
Yes, your custom skins are visible in multiplayer mode. Other players will see your unique skin as long as they aren’t using a restricted server that overrides skins.
With these steps and tips, you can create a custom skin that makes your Minecraft character truly your own. Enjoy your unique look in the game!
How to Create and Use Custom Skins in Minecraft: A Simple Guide
A straightforward guide to designing, exporting, and applying custom Minecraft skins using popular skin editor tools, with practical tips for better results.
Published 2024-12-12